How to Configure MikroTik to Work with Noch Wired
How to Configure MikroTik to Work with Noch Wired
If you are managing MikroTik routers and want them to work seamlessly with Noch Wired, this guide will walk you through the setup process. We will automate the configuration by using a script that users can download, upload to MikroTik, and execute.

Contributor By:
Enock Simiyu
31 Mar,2025, 20:23
If you manage MikroTik routers and want them to work seamlessly with Noch Wired, this guide will walk you through the setup process. We will automate the configuration using a script that a user can download, upload to MikroTik, and execute.
Prerequisites
Before you begin, ensure you have the following:
- A MikroTik router running RouterOS (tested on v6 and above)
- Access to Noch Wired Dashboard. Click here to access Noch Wired Dashboard.
- A working internet connection on the MikroTik device
- Winbox or SSH access to the MikroTik router. We recommend using winbox to setup your mikrotik device. Click here to download and install WinBox before proceeding.
Step 1: Understanding the configuration Script
We provide a register_device.rsc script that configures the MikroTik router with the necessary settings to work with Noch Wired. The script typically includes:
- Setting up the correct DHCP or static IP configuration
- Defining OpenVPN configuration settings that will be used by Noch Wired services to manage and apply configuration changes to your device.
- Setting up firewall rules to allow Noch Wired server to communicate with your devices.
- Registering the router with your Noch Wired.
Step 2: Download the Configuration Script
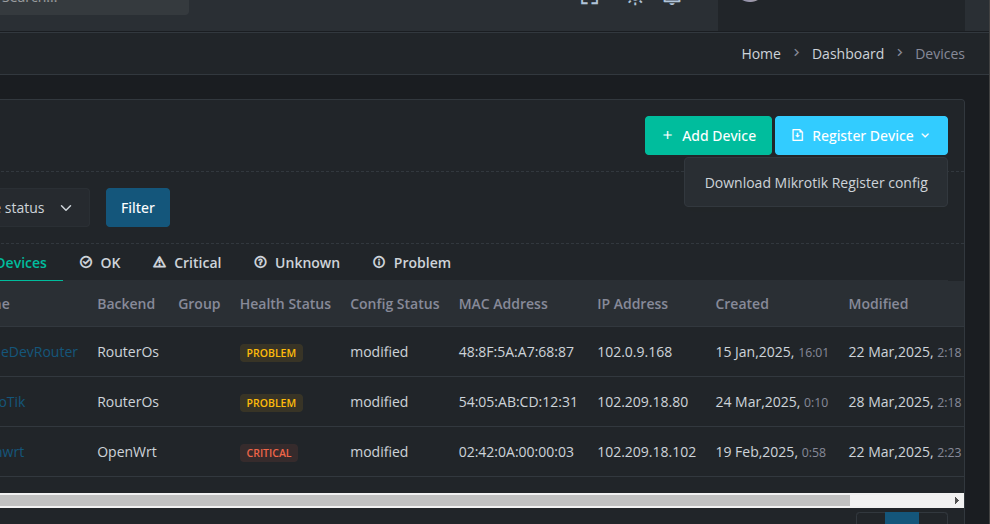
Users need to download the register_device.rsc script from Noch Wired Devices Page. Click here to access the devices page.
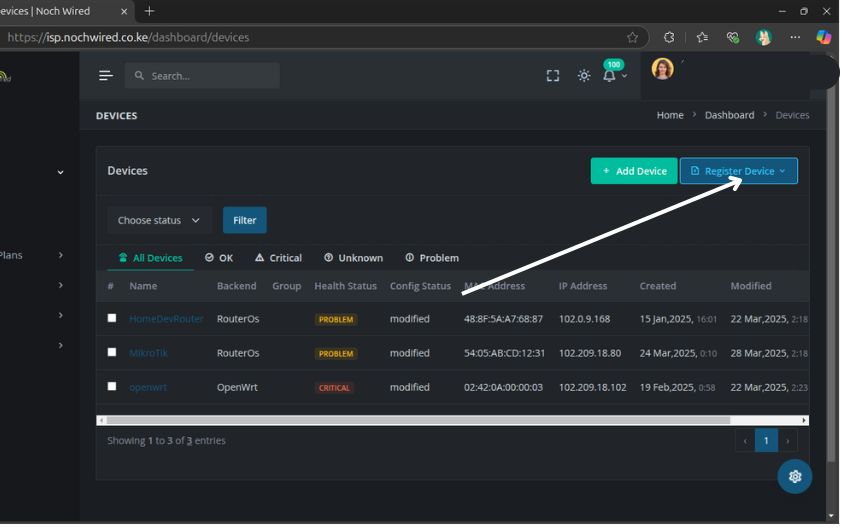
An Image showing the button to click to download the register_device.rsc configuration file
Click on Donwload Mikrotik Register Config button to download the configuration script.
The configuration script will be downloaded to your computer.
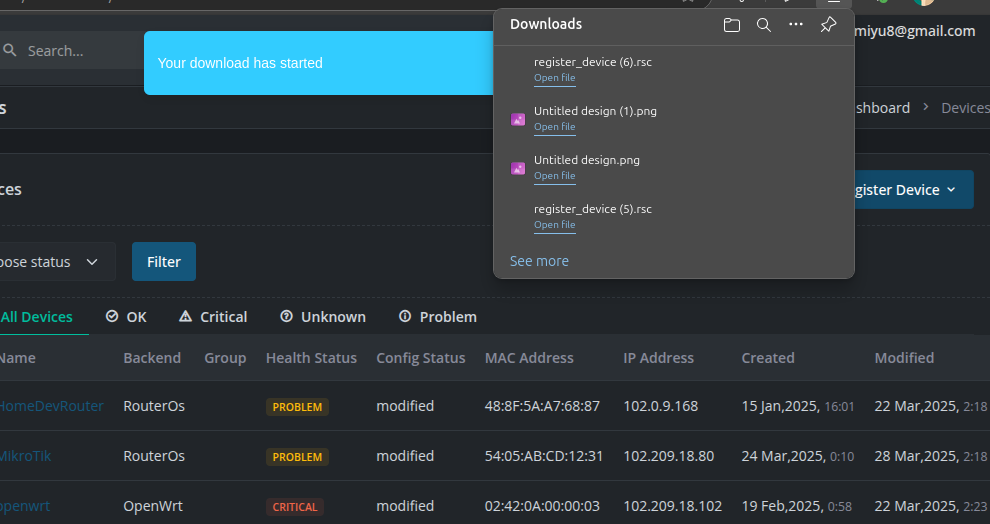
An Image showing the downloaded registration script in the downloads folder
Step 3: Upload the Script to MikroTik
Once the script is downloaded, it needs to be uploaded to the MikroTik router. You can use Winbox or SCP to transfer the file.
Using Winbox
- Open Winbox and log in to the router.
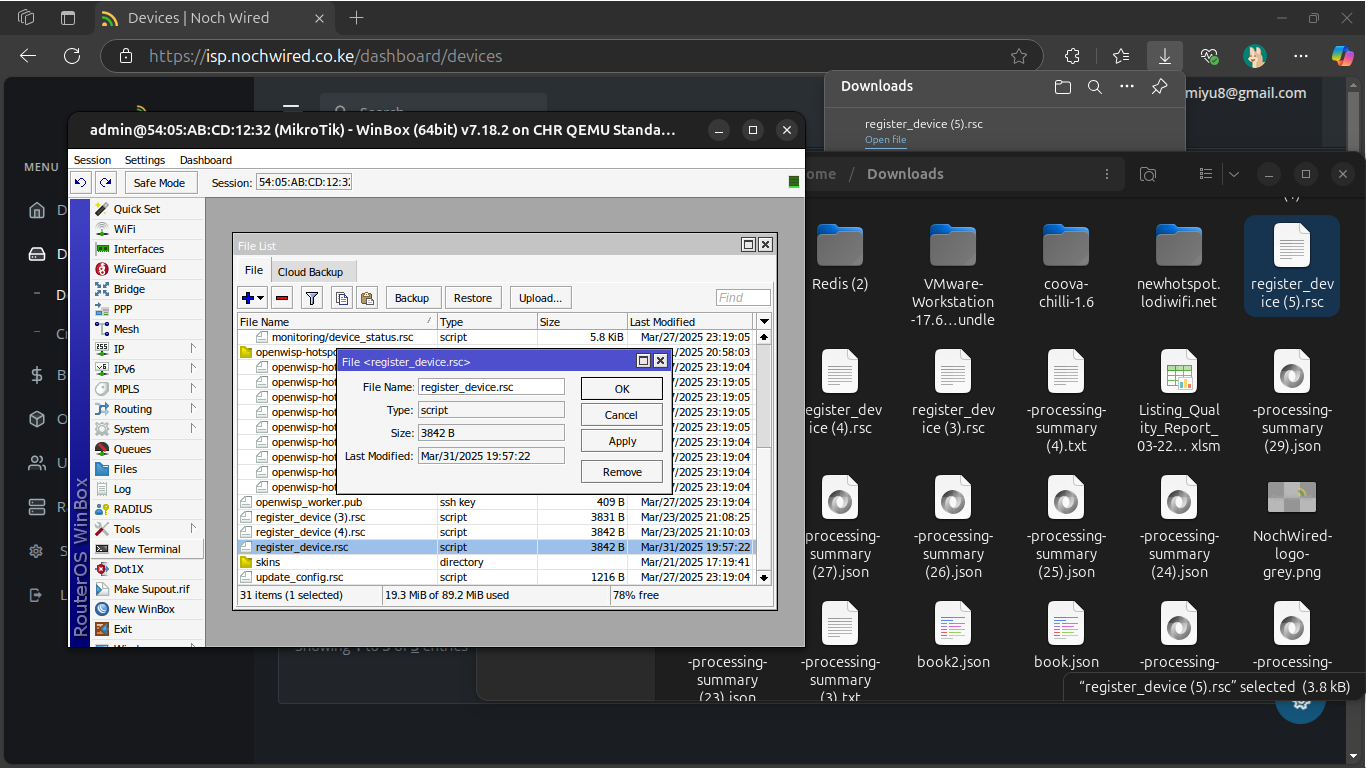
- Navigate to Files.
- Drag and drop the register_device.rsc script into the Files section.
Using SCP (Linux/Mac)
scp register.rsc admin@192.168.88.1:/
Replace 192.168.88.1 with your router’s IP and provide the admin password when prompted.
Step 4: Execute the Script
Once the script is on the MikroTik router, execute it with the following command in the MikroTik terminal:
/import file-name=register_device.rsc
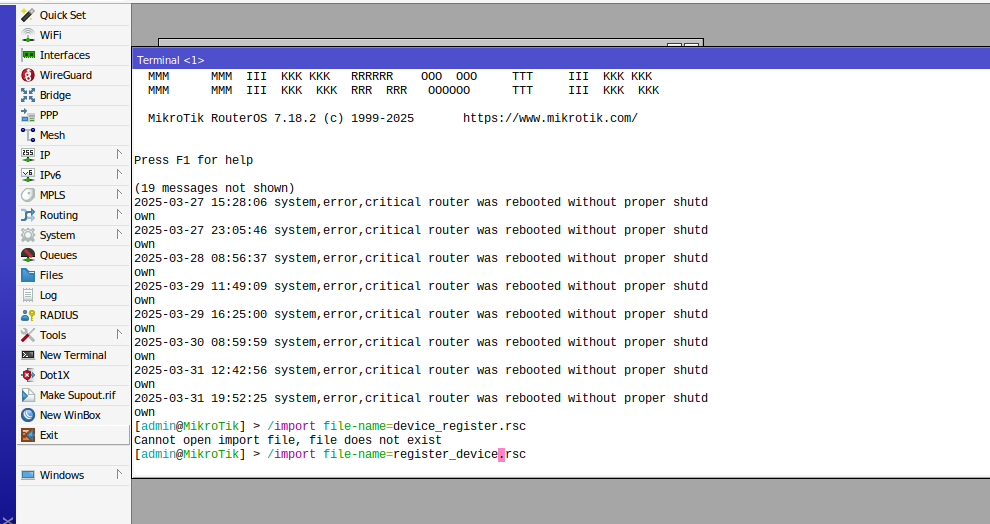
This will apply the necessary settings to configure the router for Noch Wired.
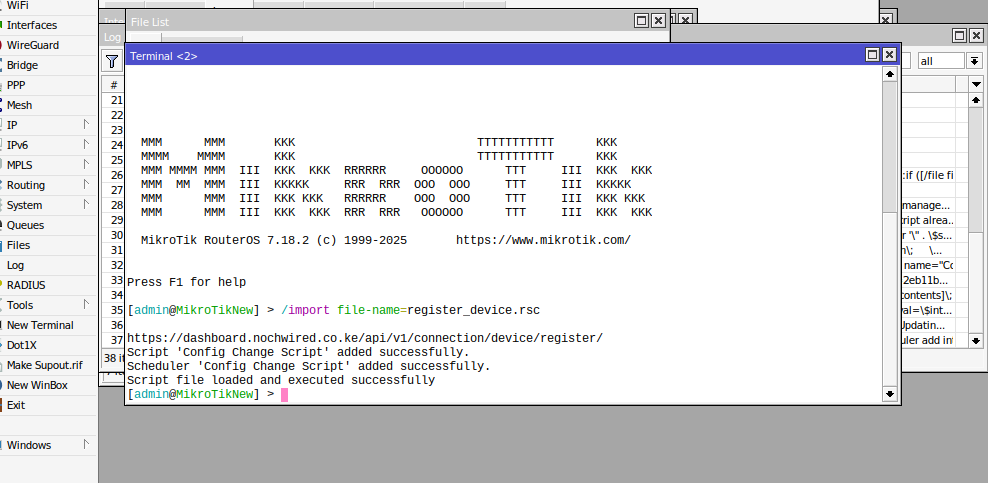
You should get the response in the image above after running the registration configuration file.
When you go back to Noch Wired Dashboard in the devices page you should be able to see the new device that was just registered.
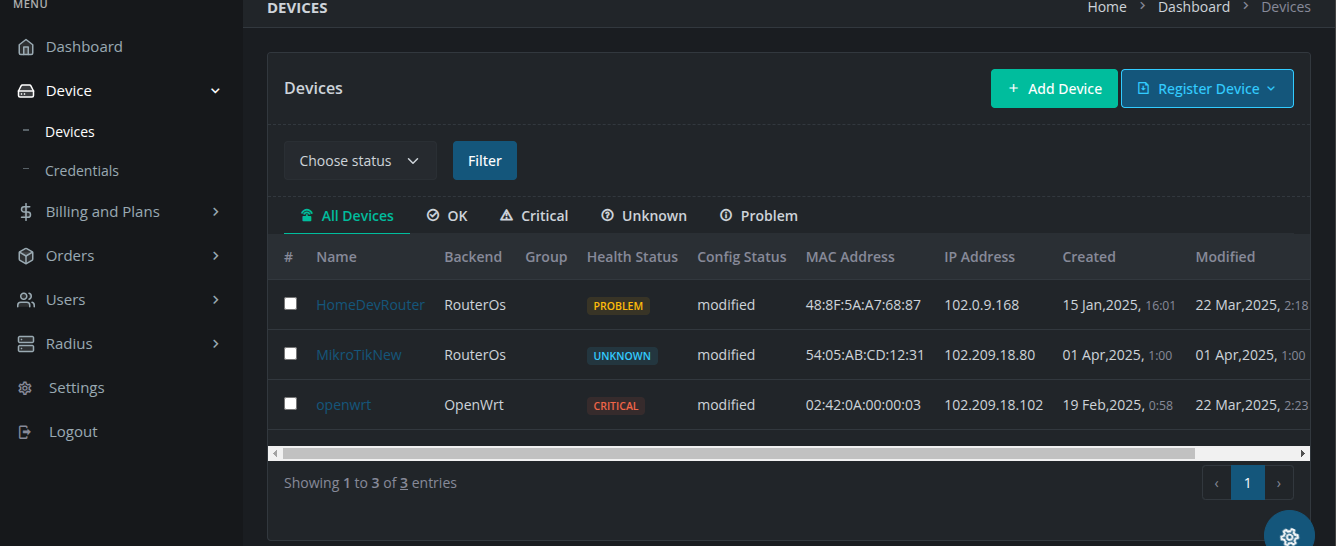
Step 5: Verify Configuration
After running the script, check if the router has successfully registered with Noch Wired. You will get a web notification and an email notification that the new device has registered successfully. You should also be able to see that a new device has been created in the dashboard.
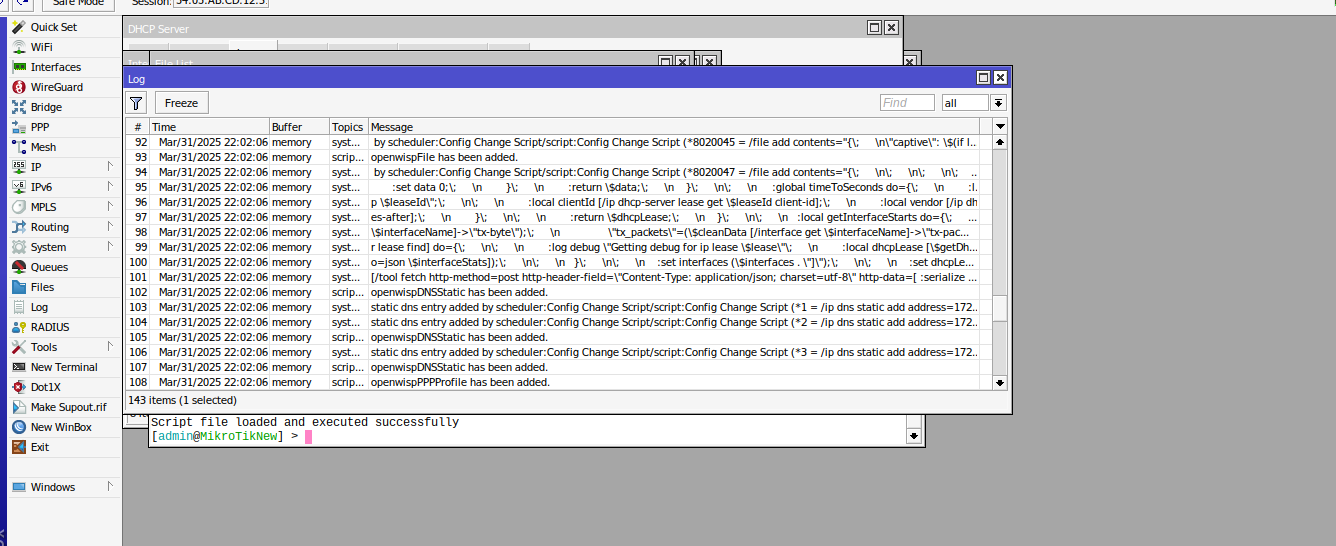
On the device logs, you should be able to view the scrip setting up the configuration on your router.
Conclusion
This tutorial provides an easy way to configure MikroTik routers to work with OpenWISP. Automating the setup with a script simplifies deployment and ensures consistency across multiple routers. If you have any questions or need further assistance, feel free to reach out!
Happy networking!
Additional Resources
Popular Posts